- Empty cart.
- Continue Shopping
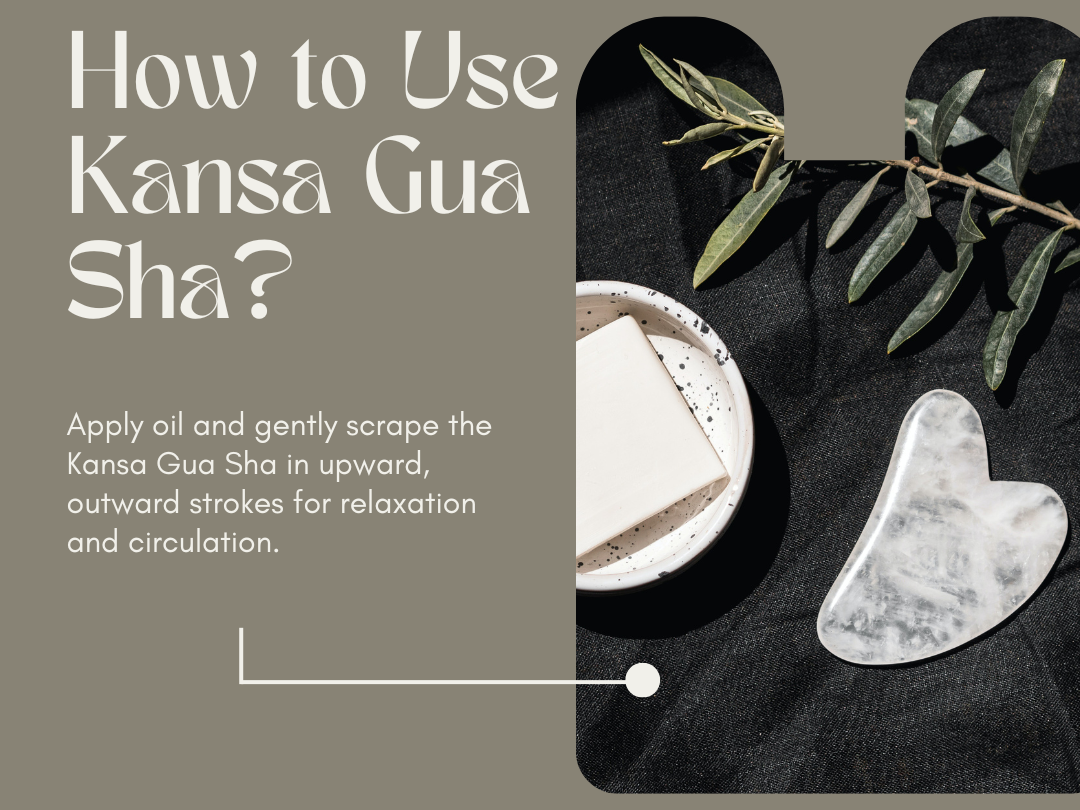
How to Use Kansa Gua Sha: The Ultimate Guide to Radiant Skin
- Posted on
Shahid Hussain
- 0
- Categories: Uncategorized
If you’re looking to elevate your skincare routine and unlock the secret to a youthful, glowing complexion, look no further than Kansa Gua Sha. This ancient Ayurvedic tool has been used for centuries to promote circulation, reduce puffiness, and enhance the overall appearance of your skin. In this blog post, we’ll walk you through how to use Kansa Gua Sha effectively to achieve radiant, glowing skin.
What is Kansa Gua Sha?
Kansa Gua Sha is a traditional tool made from a unique metal alloy called “Kansa,” which consists primarily of copper and tin. This tool has been revered in Ayurveda for its ability to balance the doshas (energy forces) and provide numerous skin benefits. Unlike other Gua Sha tools made of jade or quartz, Kansa Gua Sha is known for its gentle yet powerful healing properties. It helps to detoxify the skin, reduce inflammation, and stimulate circulation, making it an excellent addition to any skincare routine.
Benefits of Using Kansa Gua Sha
Before diving into the technique, let’s explore some of the amazing benefits of using Kansa Gua Sha on your skin:
- Boosts Circulation: The gentle massaging motion of the Kansa Gua Sha helps improve blood flow to the skin, promoting a healthy and glowing complexion.
- Reduces Puffiness: Kansa Gua Sha helps to drain excess fluids from the face, reducing puffiness, especially around the eyes and jawline.
- Relieves Tension: The tool helps relieve tension in the facial muscles, which can improve the appearance of fine lines and wrinkles.
- Promotes Lymphatic Drainage: The Gua Sha technique encourages lymphatic drainage, helping to eliminate toxins from the skin.
- Enhances Skin Tone: Regular use of Kansa Gua Sha can help even out your skin tone and promote a smoother, firmer appearance.
How to Use Kansa Gua Sha: Step-by-Step Guide
Using Kansa Gua Sha is simple, and with consistent practice, you’ll start to see noticeable improvements in your skin. Follow these easy steps to achieve glowing, youthful skin:
1. Start with a Clean Face
Before you begin, cleanse your face thoroughly to remove dirt, makeup, and impurities. You can use your regular facial cleanser or a gentle oil cleanser to ensure your skin is clean and free of any products that might interfere with the Gua Sha tool.
2. Apply a Facial Oil
For the Kansa Gua Sha to glide smoothly over your skin, it’s essential to apply a nourishing facial oil or serum. Choose a product that suits your skin type, such as a hydrating oil for dry or oily skin. This step not only helps with smooth gliding but also ensures that your skin absorbs the beneficial ingredients of the oil.
3. Hold the Kansa Gua Sha Tool Correctly
Hold the Kansa Gua Sha tool at a 15–30 degree angle to your skin, ensuring that the flat side of the tool makes contact with your face. You can also use the rounded edge for more delicate areas such as the under-eye area.
4. Start from the Center of Your Face
Begin by gently gliding the tool from the center of your face, working outward toward your ears. Use light pressure, and make slow, upward strokes to lift and tone the skin. Start at your chin and work your way up to the jawline, then move to your cheeks and forehead.
5. Focus on Key Areas
- Jawline: To help define your jawline, use the Kansa Gua Sha tool to make upward strokes along the jaw, starting from the center and working your way out toward your ears.
- Cheeks: On your cheeks, gently glide the tool upward and out toward the temples to improve circulation and reduce puffiness.
- Forehead: For your forehead, use the tool to make upward strokes from the center of your forehead toward your hairline. This will help smooth out fine lines and promote relaxation.
- Under-Eye Area: To reduce puffiness and dark circles, use the rounded edge of the tool to gently massage under your eyes. Make sure to be extra gentle in this area, as the skin is delicate.
6. Repeat on Both Sides
Perform the Gua Sha technique on both sides of your face to ensure balanced results. You can repeat each stroke 3–5 times, depending on your preference.
7. Finish with a Relaxing Massage
Once you’ve finished using the Kansa Gua Sha tool, you can massage any remaining oil or serum into your skin with your fingertips. This step helps to ensure that your skin absorbs all the nourishing ingredients.
Also Read: Kansa vs. Stone Gua Sha: Why Kansa Gua Sha Should Be Your Go-To Skincare Tool
Tips for Best Results
- Consistency is Key: To see the best results, use Kansa Gua Sha regularly, ideally every day or a few times a week.
- Gentle Pressure: Avoid using too much pressure. The goal is to stimulate circulation, not cause discomfort. If you’re a beginner, start with lighter pressure and gradually increase it as you become more comfortable.
- Use After Skincare: For optimal results, use Kansa Gua Sha after applying your skincare products like serums or oils.
- Keep the Tool Clean: Clean your Kansa Gua Sha tool after each use with a mild cleanser and warm water to maintain hygiene and ensure its longevity.
Conclusion
Incorporating Kansa Gua Sha into your skincare routine is a fantastic way to enhance your complexion and achieve glowing, radiant skin. By improving circulation, reducing puffiness, and promoting lymphatic drainage, this ancient Ayurvedic tool provides a natural, holistic approach to skincare. With regular use and a bit of practice, you’ll soon enjoy smoother, firmer skin with a youthful, dewy glow. So, grab your Kansa Gua Sha tool today and start pampering your skin the Ayurvedic way!